
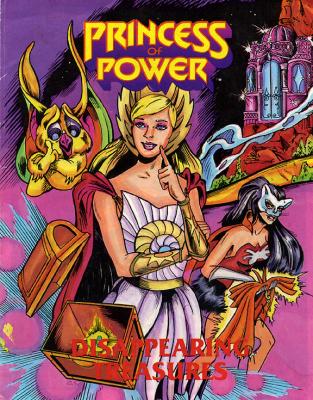
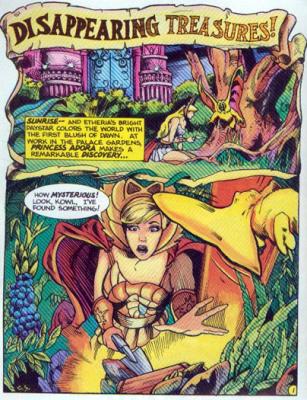
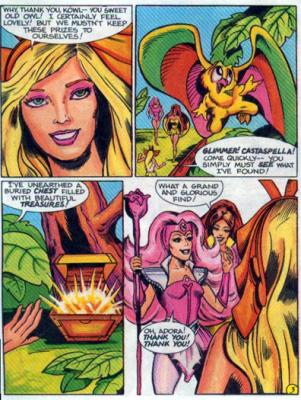
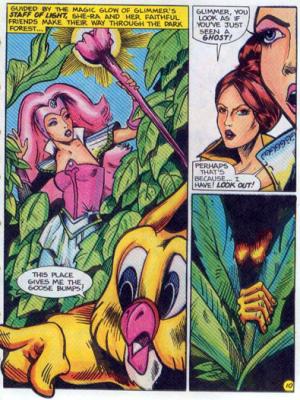
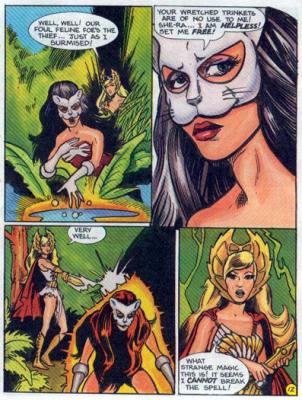
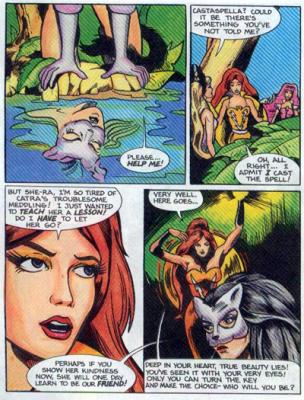
"Disappearing Treasures" is the fourth mini comic in the vintage Princess of Power toy line. It shipped with the Glimmer and Castaspella figures. We find Princess Adora in the palace gardens - the gardens surrounding Crystal Castle. While gardening with Kowl, Adora finds a treasure chest. Kowl urges her to open the chest. Finding treasures inside, Adora shares them with Glimmer and Castaspella. This is our first introduction to these two characters. Castaspella casts a spell on the treasure to keep Catra at bay. Catra comes and steals the treasure, as Adora and company return to their palace duties. Catra takes the treasures back to her lair in the Dark Forest, and soon falls victim to Castaspella's spell - she sees a reflection of an old withered crone in one of the treasures. In a panic, Catra throws the treasure in a nearby lake. She then sees her true reflection, her beautiful self looking back at her. We then discover that Catra has a fear of water, and she wonders how she will get the treasure back. Meanwhile, Kowl discovers that the treasure has been stolen, and quickly alerts Adora. The Princess of Power transforms into the masked She-Ra, and leads her friends to the Dark Forest. In the previous issue, the Dark Forest was treacherous, but Glimmer's Staff of Light leads the way to Catra's lair. A gremlin comes to stop them, but She-Ra casts a spell, turning the gremlin into a harmless butterfly. Glimmer points out Catra's "secret" lair. She-Ra and company soon find Catra trapped at the lake by her own reflection. Apparently Castaspella's spell would have led Catra to drown in the lake if left alone. She-Ra urges Castaspella to undo the spell. Catra transforms into a kitten and flees.
This issue continues the theme of discovering magical treasures and trinkets hidden throughout Etheria. There's no answer to where the treasure originated from. The story makes good use of both Glimmer and Castaspella's abilities, though it does not give us much background for these two new characters. There's no mention of Glimmer's relation to Angella (if any), or Castaspella's role as queen of Mysticor (if she is queen at all in this continuity). The story suggests that Adora has already known these characters for a while. Castaspella is apparently quite powerful, as Catra easily fell victim to the sorceress's spell. Adora again transforms into She-Ra by chanting "By the Honor of Grayskull". The mask continues to erroneously disappear as the story moves forward, suggesting that becoming She-Ra is more of a momentary "charge up". The art is consistent with the previous issue, although at times it doesn't clearly communicate elements of the story - it was difficult to see that Catra was in any true danger. This story seems to undermine Catra's nature as a powerful sorceress, possibly suggesting that she's more mischievous rather than be an actual threat.
Images courtesy of he-man.org
 RSS Feed
